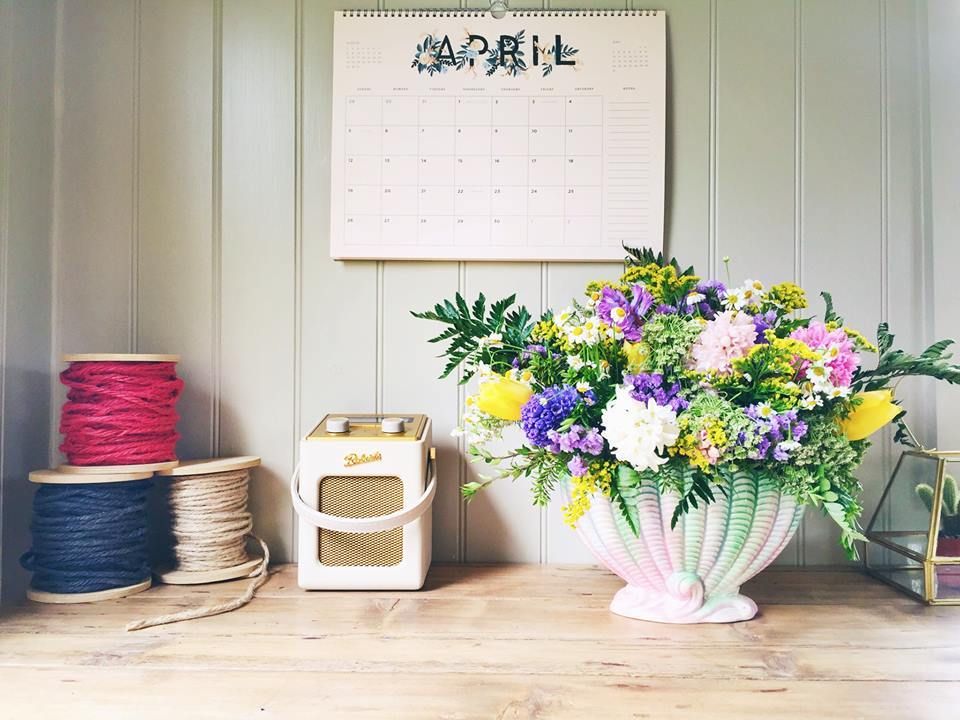
Hello! I've got a slightly different post here that I'm really excited to share with you, as it's the type of content that I want to be posting more of on this little piece of internet. You may all already be aware, but I recently (nearly a month now!) left my job as a Digital Media Consultant to become freelance and focus more on editorial and interior styling. It was a really scary decision to make, and to be honest I still frequently freak out a lot, but it was the right thing to do! There's lots of different things going on and lots to look forward to, but for now, I wanted to share a new feature; Bloomin' Hell, where I'll be sharing different and seasonal bouquets and floral designs, all with DIYs with help from my florist mum! You can find her on Facebook and Twitter!
I love spring flowers with their pastel petals and the fact that their blooming seems to welcome in the sunny weather, so I chose a vintage sylvac vase from The Other Duckling, that perfectly complimented them!
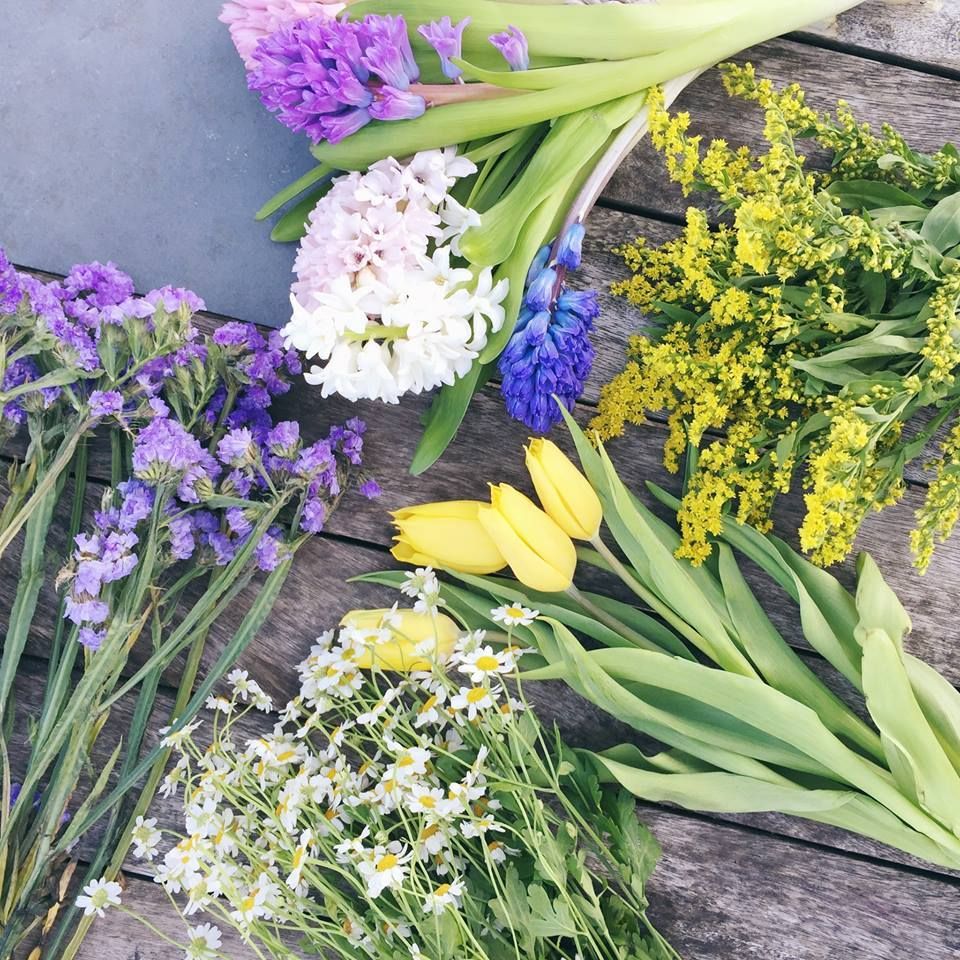
1. Select your flowers
To make sure that the arrangement stands out it's always a good idea to choose the main showcase flowers. Because this vase is quite wide, I thought it might look better with more than one main flower, so I chose hyacinths and tulips, as they're the perfect spring flowers and also carry across the pastel shades from the vase.
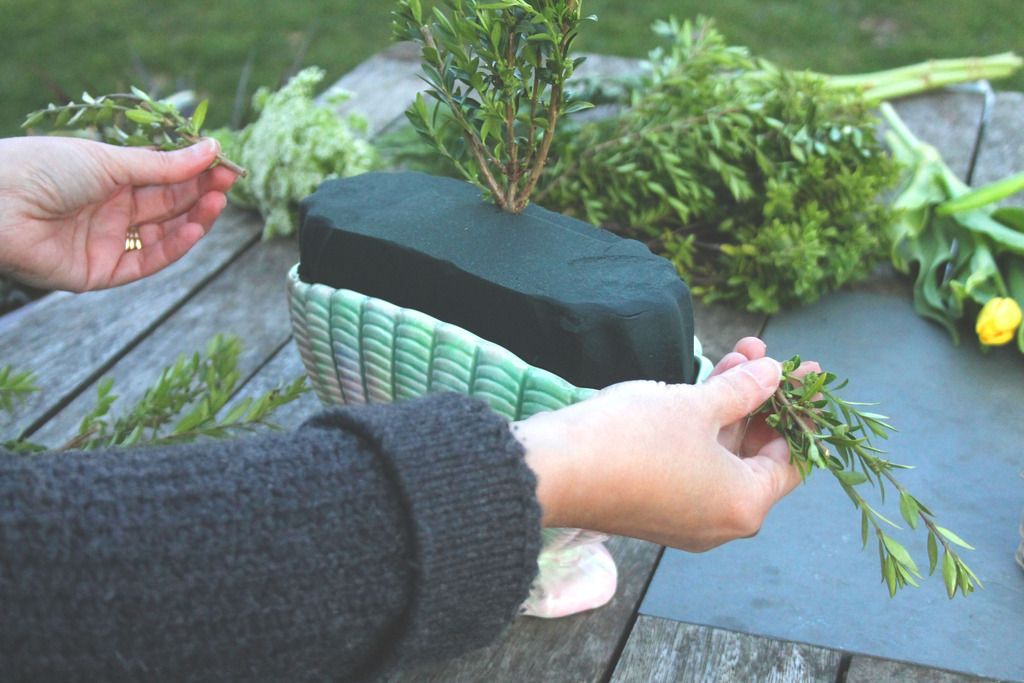
2. Prep your arrangement!
Once you've got your vase ready to go and your flower stems all cut, you'll need to prep your Oasis! You can either use Oasis (a foam that flowers can be pushed into) or chicken wire, but due to the wide and deep shape of the vase, I'm using Oasis to ensure that all of the flowers are kept safely in position. If you're using Oasis like me, you need to shave it to the shape of the vase using a knife (I had to get my mum to do this for me - I'm known for being clumsy!), but make sure that it is always slightly taller than the vase itself, so there's a good inch sticking up. You'll then need to soak the Oasis in cold water, but never push it down as it will let in air bubbles - simply place it a full bowl/bucket and wait for it to sink!
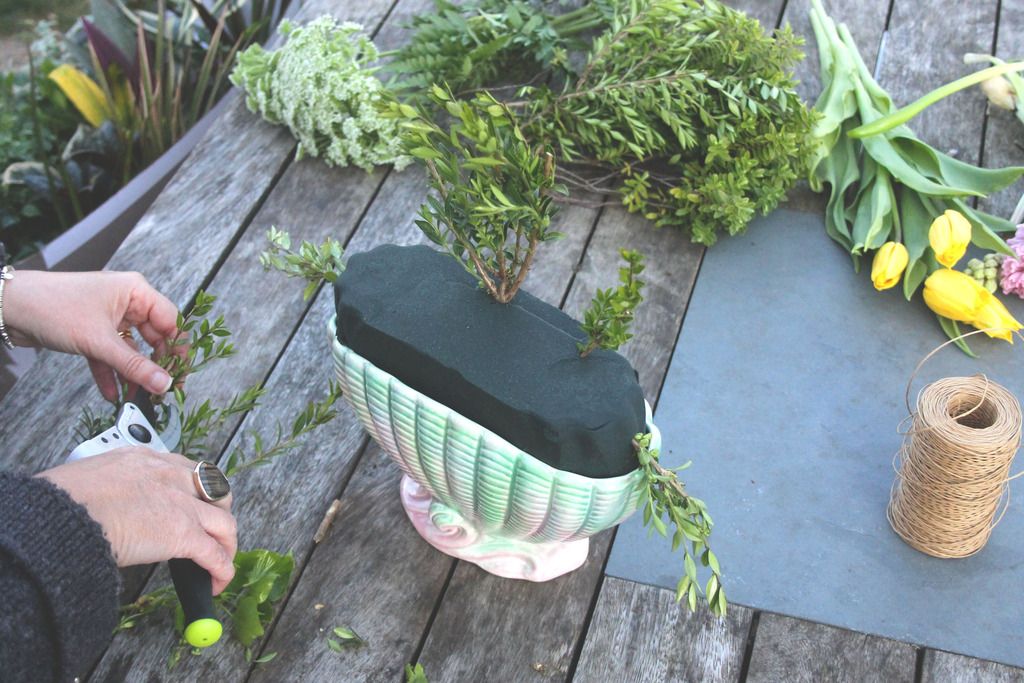
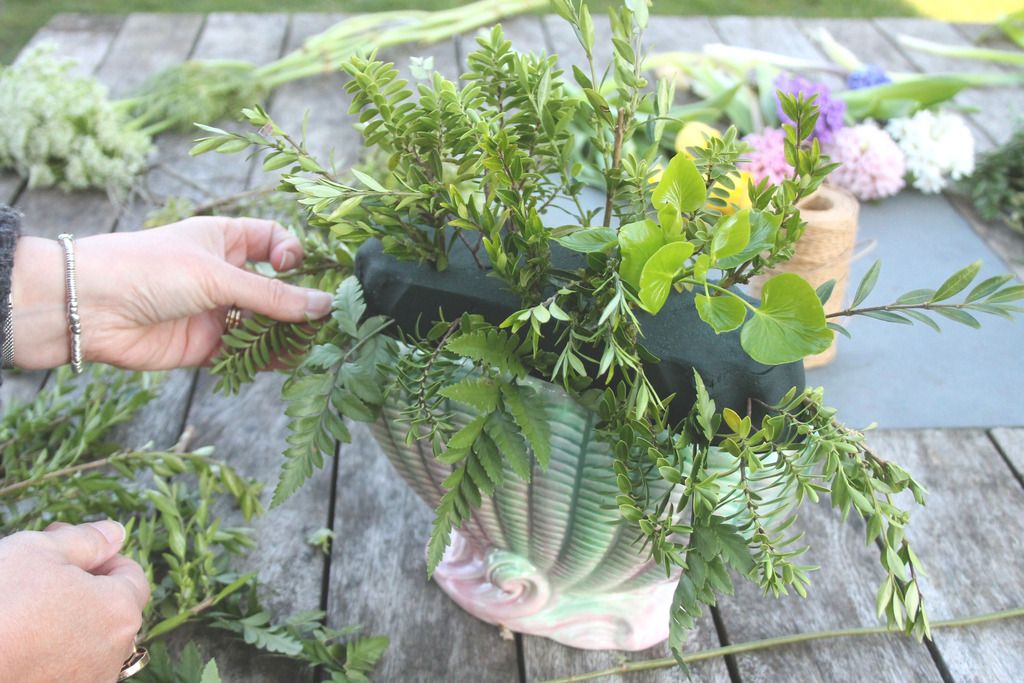
3. Layer in the foliage!
Choose 2 or 3 different types of natural greens to flesh out the arrangement - we used greenery from the garden, such as pittosporum, but you could also use anything green that you like the look of!
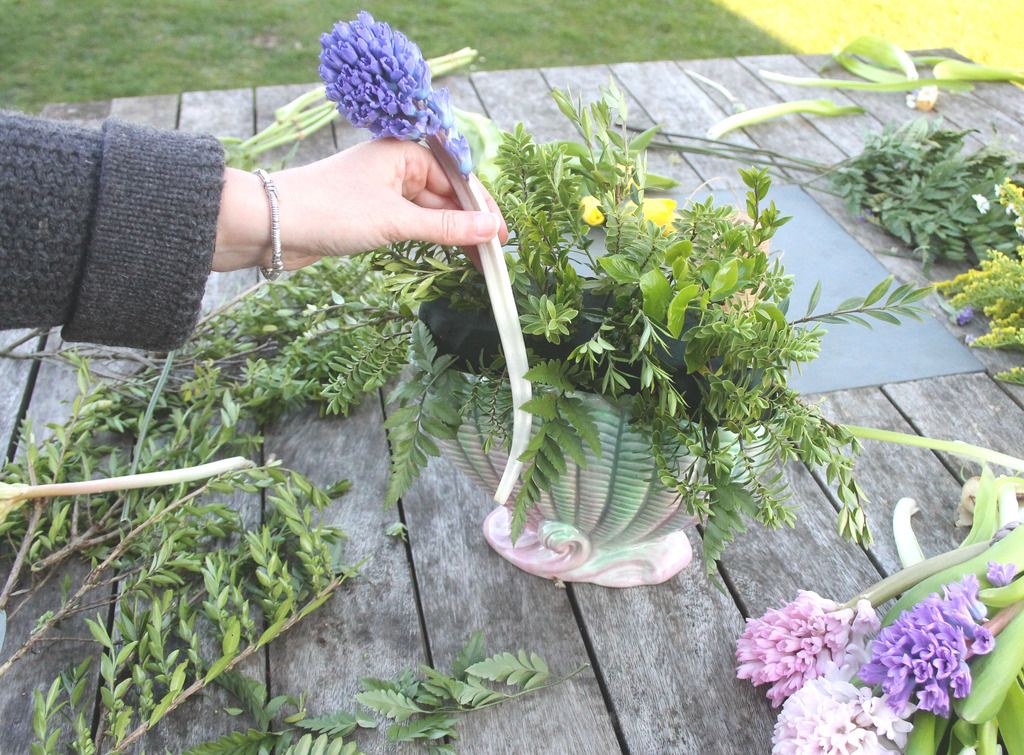
4. Decorate with flowers!
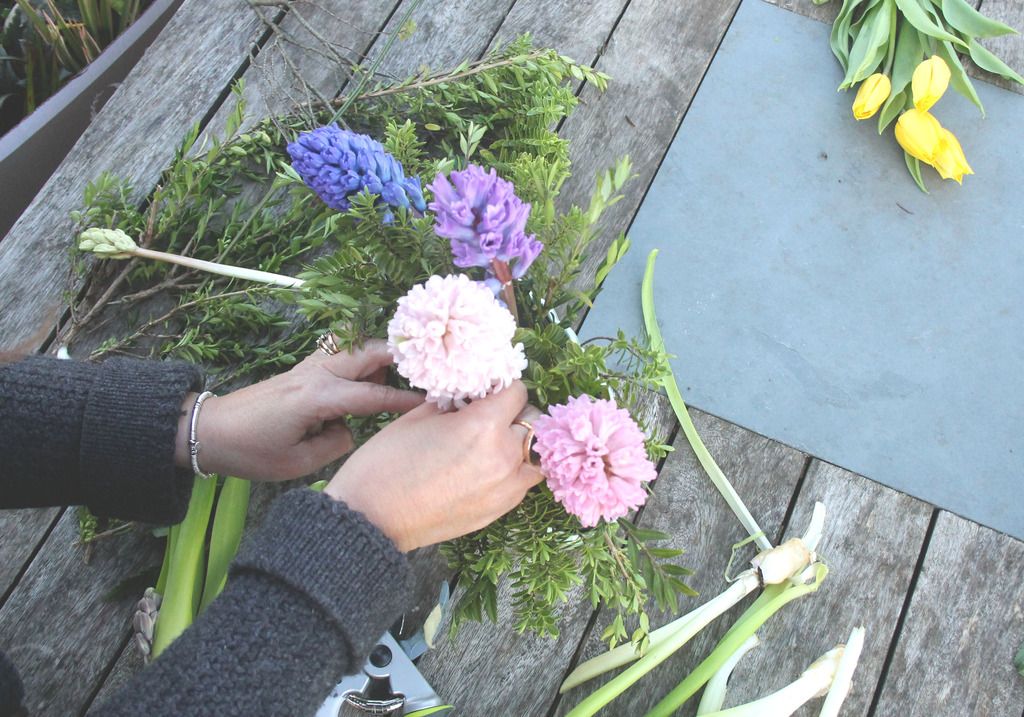
Once you've filled the majority of the Oasis with the foliage, you need to start adding in the flowers. Start with the ones you wish to dominate the arrangement carry on from there. Cut the flowers down to the size you wish, and if the stem is too soft, you can always wrap wire around the stem to strengthen it in the Oasis. As I wanted the hyacinth's to be the showcase flower, I started with that, then moved onto the tulips, daisies, solidago and statice. Once all of the flowers were in place, I then just kept adding in the rest of the foliage until there was no more visible space in the Oasis, to make it as full and voluptuous as possible!
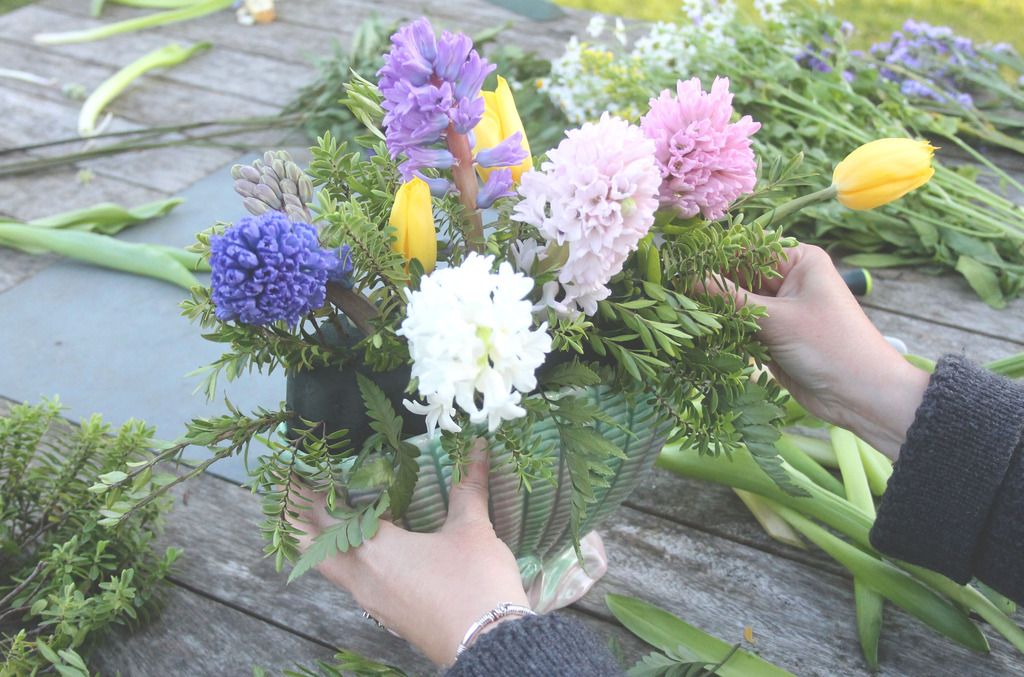
5. Looking after your flowers
When your spring floral arrangement is looking perfect, make sure you showcase it somewhere worthy (also somewhere that enjoys the sun)! Give it a spritz of water all over, and just keep an eye on it to make sure that the Oasis stays damp, to prevent the flowers drying out. Usually an arrangement like this should last a couple of days, so enjoy!
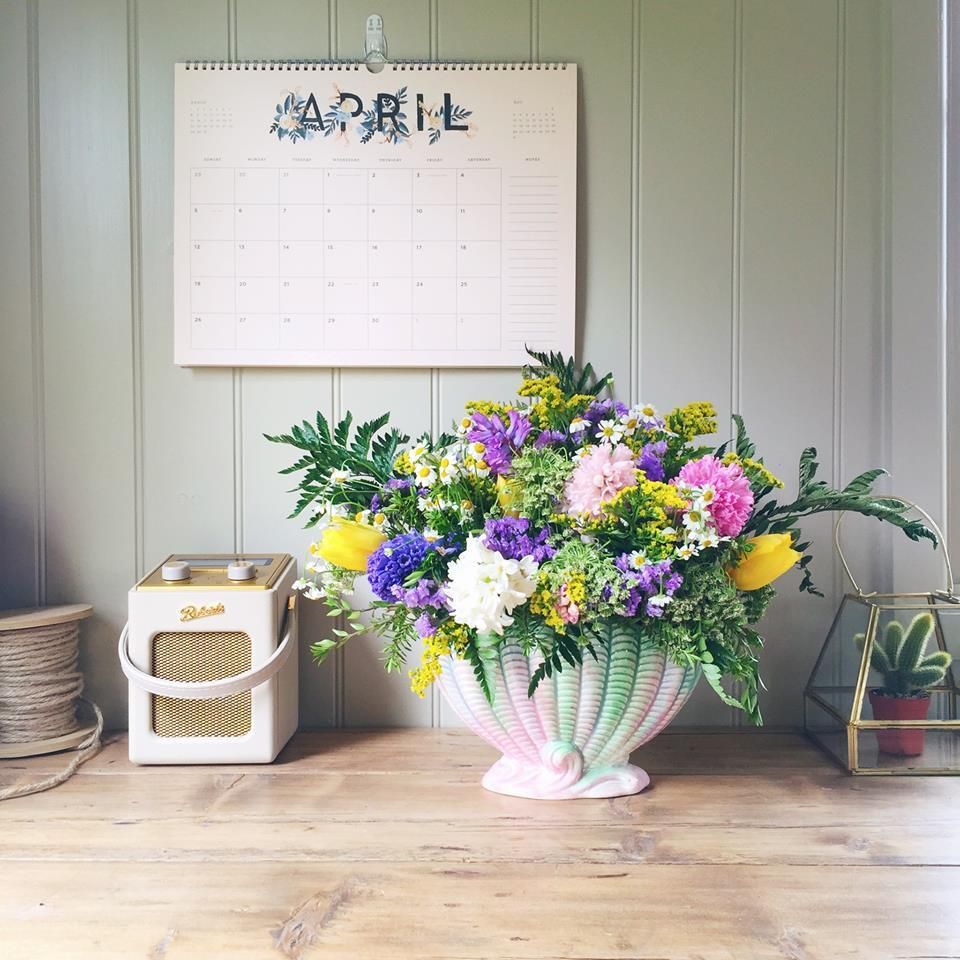
I was sent this beautiful vase from The Other Duckling but my words and my love for it are all my own! And a huge thank you to my mum, Botanic Events, for helping me out with this post!
Want to follow me? GFC ♥ Bloglovin! ♥ Twitter ♥ Facebook ♥ Pinterest ♥ Instagram

No comments
Post a Comment